
7 Reasons Lobuche Peak: Best First 6000m Climb, if you’re serious about stepping into high-altitude mountaineering, this peak doesn’t just introduce you to climbing, it forces you to prove you’re ready for the realities of the mountains.
1. Perfect Gateway to 6000m Climbing – Lobuche Peak Best First 6000m Climb
Lobuche Peak (6,119m) sits in a very strategic position in the climbing world, it’s not too easy to be dismissed, and not too extreme to be dangerous for a first attempt. That balance is exactly what makes it powerful.
For most people, the jump from trekking to mountaineering is overwhelming. You go from walking on trails to suddenly dealing with ice, altitude, and technical gear. Lobuche smooths that transition.
- The climb is naturally progressive:
- You begin with well-established trekking routes
- Move into rocky glacial terrain
- Then transition to snow and ice climbing
- Finally face a steep, exposed summit section
This gradual exposure matters. Instead of being thrown into technical terrain immediately, your body and mind adapt step by step.
More importantly, Lobuche teaches you how your body reacts above 6000m. This is where altitude becomes brutally honest your breathing changes, your pace slows, and every step requires focus. Learning this in a relatively controlled environment is critical before attempting higher peaks.
In simple terms: Lobuche is where ambition meets reality and you find out if you’re built for this.
2. Real Mountaineering Experience (Not Just Trekking) – Lobuche Peak Best First 6000m Climb
A lot of so-called “climbing peaks” in Nepal are essentially extended treks with a small snowy section at the end. Lobuche Peak is not one of them—it demands actual mountaineering involvement.
From the moment you leave high camp, everything changes. You’re no longer just walking—you’re climbing with intent.
You’ll use:
- Crampons to grip into ice and prevent slipping
- Ice axe for stability and self-arrest if needed
- Harness and ropes to stay secured on exposed sections
The summit push is where it all comes together. You’re often starting in the dark, navigating steep slopes under freezing temperatures. The air is thin, your energy is low, and every movement has to be controlled.
Fixed ropes are typically installed on the steeper sections, and you’ll use ascenders (jumars) to climb up safely. This introduces you to one of the most fundamental systems in high-altitude climbing.
Mentally, this is a shift. You’re no longer sightseeing—you’re managing risk, conserving energy, and making decisions under pressure.
That’s what makes Lobuche valuable. It doesn’t let you pretend—you either engage with real mountaineering or you struggle.
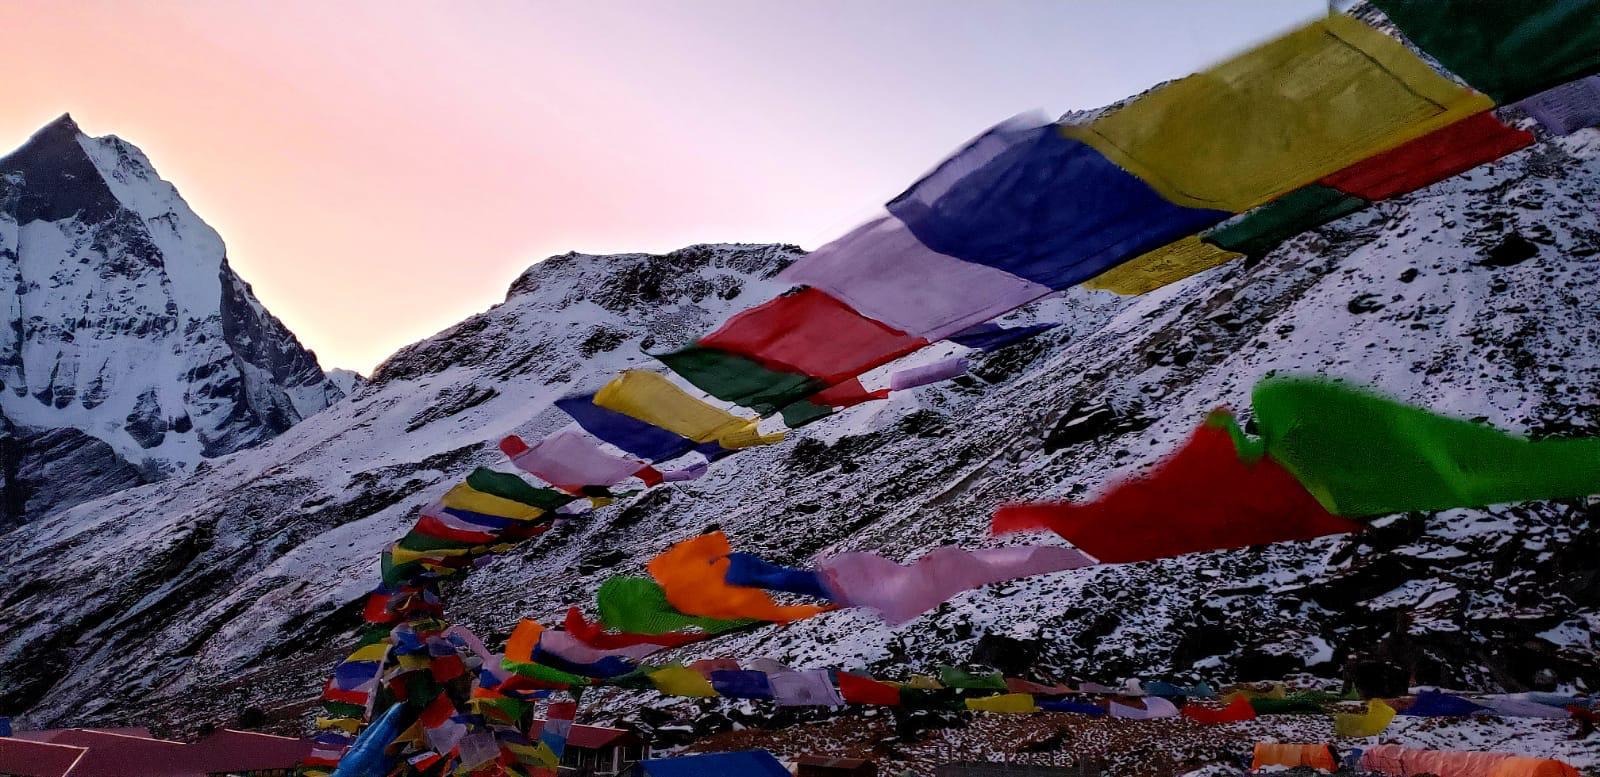
3. Unreal Himalayan Views – Lobuche Peak Best First 6000m Climb
Climbing Lobuche Peak places you in the heart of the Khumbu region, surrounded by some of the most legendary mountains on Earth. And unlike a trek, you’re not viewing them from below you’re standing at their level.
From high camp and especially the summit, you’re rewarded with panoramic views of:
- Mount Everest rising in the distance
- The massive wall of Lhotse dominating the skyline
- The sharp ridges of Nuptse
- The stunning, symmetrical beauty of Ama Dablam
But it’s not just about ticking off famous peaks. The real impact is the perspective.
At this altitude:
- Clouds sit below you
- Glaciers stretch endlessly across valleys
- The scale of the Himalayas becomes almost overwhelming
It’s the kind of view that resets your sense of size and importance. And because you’ve earned it through effort and discomfort, it hits differently than anything you see on a normal trek.
4. Technical but Manageable – Lobuche Peak Best First 6000m Climb
One of the biggest fears for first-time climbers is technical difficulty—and rightfully so. Too easy, and you learn nothing. Too hard, and you’re in danger. Lobuche sits right in the middle.
The climb includes:
- Snow slopes that can reach 40–50 degrees near the summit
- Sections where you must clip into fixed ropes
- Glacier crossings that require awareness and balance
- These are real mountaineering challenges but they’re introduced in a controlled way.
Most expeditions:
- Provide basic training before the summit push
- Have guides fixing ropes and monitoring conditions
- Use established routes that are regularly climbed
This structure allows beginners to experience technical climbing without being overwhelmed.
However, don’t misunderstand this as “easy.” If you’re careless, exhausted, or unprepared, even these manageable sections can become dangerous.
The beauty of Lobuche is that it gives you a safe environment to learn under pressure. You’re pushed but not thrown into chaos.
5. Built-In Acclimatization via Everest Base Camp Trek – Lobuche Peak Best First 6000m Climb
Altitude is the biggest factor in any Himalayan climb. You can be physically strong and still fail if your body doesn’t adapt properly.
This is where Lobuche has a massive advantage it follows the classic Everest Base Camp route.
Instead of rushing upward, your body acclimatizes gradually over several days.
Typical acclimatization process includes:
- Spending time in Namche Bazaar to adjust to thinner air
- Gaining altitude slowly through Tengboche and Dingboche
- Taking rest days to allow your body to adapt
- Reaching Lobuche village already partially acclimatized
By the time you reach high camp, your body has already gone through multiple adaptation stages:
- Increased red blood cell production
- Improved oxygen efficiency
- Better tolerance to exertion at altitude
This dramatically increases your chances of a successful and safe summit.
It also gives you time to observe how your body reacts—headaches, appetite changes, sleep patterns which is critical knowledge for future climbs.
6. High Success Rate (If You’re Not Lazy) – Lobuche Peak Best First 6000m Climb
Let’s drop the sugarcoating Lobuche Peak has a solid success rate, but it’s not because it’s easy. It’s because the path to success is clear.
People who summit usually:
- Show up with strong cardiovascular fitness
- Have experience trekking at altitude
- Stay disciplined with hydration and pacing
- Listen to their guides
People who fail tend to:
- Underestimate the physical demand
- Ignore altitude symptoms
- Skip training and rely on “hope”
At 6000m, your body is under constant stress. Fatigue builds faster, recovery is slower, and mistakes cost more.
Lobuche exposes this reality. It doesn’t care how confident you are it responds to how prepared you are.
If you train properly and respect the mountain, your chances are strong. If you cut corners, it will show.
7. Feels Like a Real Expedition Without Extreme Risk -Lobuche Peak Best First 6000m Climb
One of the most rewarding aspects of Lobuche Peak is that it gives you the full expedition experience without the extreme risks of higher Himalayan climbs.
You’ll experience:
- Living at high altitude camps in cold, harsh conditions
- Preparing gear for a midnight or early morning summit push
- Climbing in darkness with headlamps
- Battling wind, cold, and fatigue simultaneously
- This is the essence of mountaineering.
But compared to bigger expeditions:
- The climb is shorter in duration
- Logistics are simpler
- Rescue and support systems are more accessible
- Objective risks (like avalanches on standard routes) are lower
This makes Lobuche the perfect training ground. You experience the intensity of a real expedition but in a more controlled and forgiving environment.
It builds not just physical strength, but mental resilience arguably the most important trait in mountaineering.
Final Thoughts
Lobuche Peak isn’t just a “beginner climb” it’s a proving ground.
It forces you to answer uncomfortable questions:
Can you handle altitude when it actually hurts?
Can you keep moving when your body wants to stop?
Can you stay focused when the environment becomes hostile?
This climb strips away ego and replaces it with experience.
If you summit, you don’t just gain a memory you gain confidence backed by reality. And if you struggle, you gain something even more valuable: awareness of your limits.
Either way, Lobuche gives you exactly what you need before moving on to bigger mountains.


 10")
 12")

 16")


