
Why Choose Annapurna Circuit Trek in Nepal? Undoubtedly, the Annapurna Circuit is one of the most well-known treks in the Himalayas. Originally offered to trekkers who were making their first trip to Nepal over 50 years ago, the Annapurna Circuit has developed into one of the world’s top trekking routes. The circuit passes across every type of terrain and geography while encircling a sizable portion of the Nepal Himalayas.
Many villages cultures, terrains, climates, and ecosystems are encountered along this trip. The Annapurna Circuit is a unique trekking experience due to these abundant and varied encounters.
But most of the original footpaths throughout the circuit have now blended into the rugged jeep track as a result of road construction in recent years. Many passionate trekkers who enjoyed the traditional foot track have been dismayed by this, but new roads have improved the local quality of life and increased accessibility and flexibility for the hiking community. Now, depending on one’s preference, one can choose to walk the whole Annapurna Circuit or just a portion of it.
Although there have been a lot of new trekking routes available recently, the Everest Base Camp trip and the Annapurna Circuit are still the two most popular treks in Nepal. Here are the Top Reasons for Choosing Annapurna Circuit Trekking if you’re on the fence about going on the Annapurna Circuit or another high-altitude trek.
ABUNDANT CULTURAL EXPERIENCE

The fact that The Annapurna Circuit includes settlements from several communities is another excellent incentive to undertake it. You will stroll past the villages of the Gurung, Magar, and Chettri communities—who practice animism and Hinduism—in the lower levels.
You will encounter Manangese and Thakkalis communities in the semi-desert region. Manangese originate from Tibet and have more cultural traits with Tibetans than with Hindu Nepalese. Bon practitioners can also be found in the isolated desert valleys. An earlier animistic religion than Buddhism is called Bon. Before Buddhism gained popularity, the majority of the population in the Trans Himalayan area of Tibet and Nepal practiced Bon. Each of these groups has its languages, traditions, and customs. In the nearby villages, you will pause for a break and some food, mingle with the locals, and discover more about their way of life.
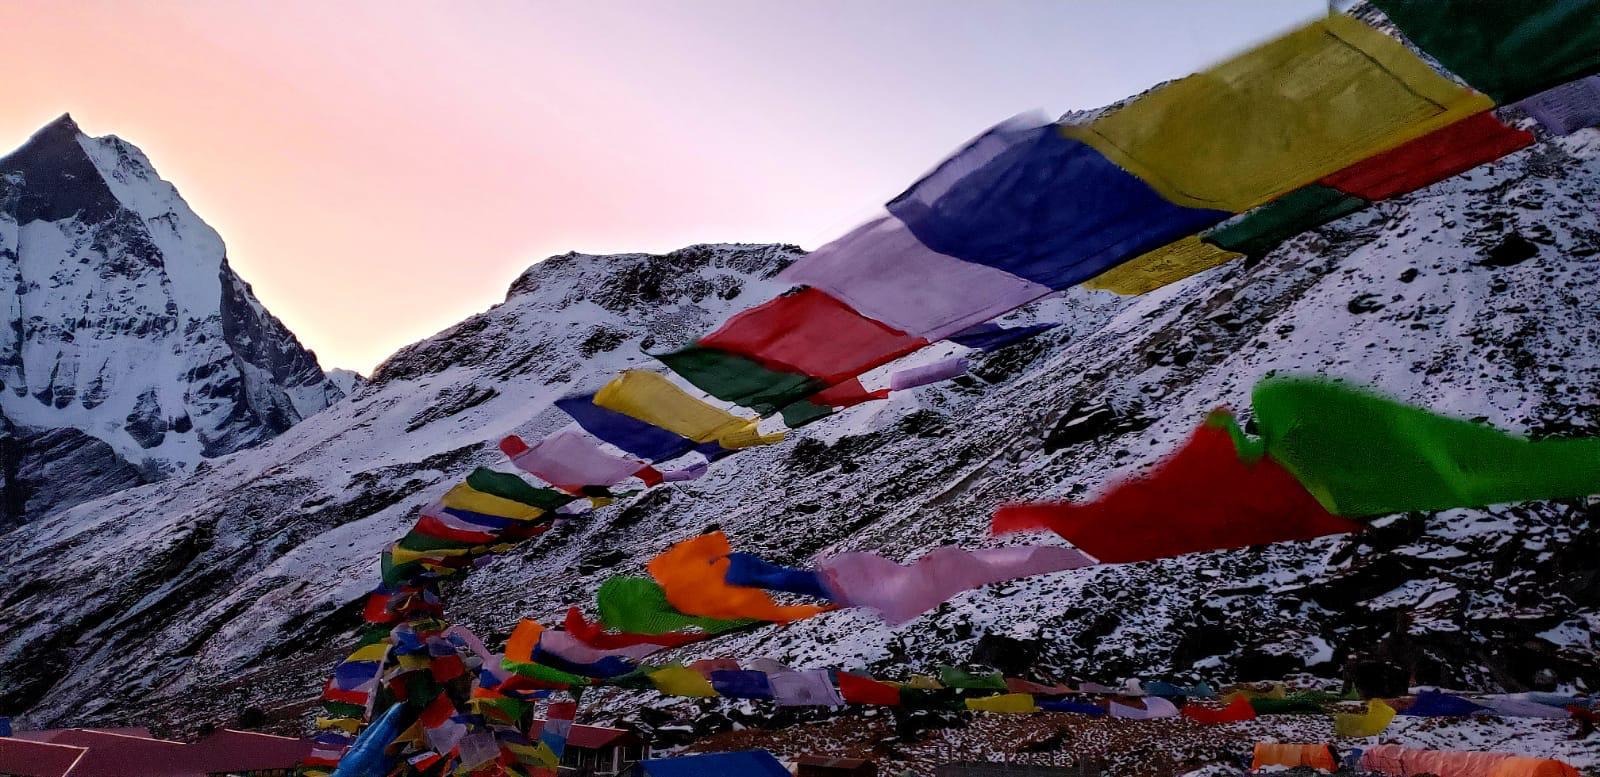
GORGEOUS VIEWS OF THE MOUNTAINS

You will be treated to breathtaking vistas of the Annapurna I, II, III, and IV, Gangapurna, Nilgiri, Tarke Kang, Lamjung Himal, and other enormous mountains as the Annapurna Circuit trek winds around the Annapurna Range and other high ranges. From the path, one may get a close-up look of Dhaulagiri, the seventh-highest peak in the world, Manaslu, the eighth-highest mountain, and Annapurna I, the tenth-highest.
OUTSTANDING DIVERSITY

The Annapurna Circuit trip provides more variation and variety than any other climb in Nepal. When it comes to diversity in culture, topography, geography, and environment, the Annapurna Circuit has it all. Along the way, you’ll pass through ice passes, alpine valleys, and lush subtropical jungles. In a few days, you travel semi-arid deserts, rice fields, and lush river valleys. People of different religions and communities come into interaction with you. The Annapurna Conservation Area, home to an abundance of endangered Himalayan plants and animals, is traversed by the Annapurna Circuit.
NATURAL WONDERS
One of the highlights of the Annapurna Circuit is Thorung La, one of the world’s highest trekking mountain passes. The trek’s highest point is Thorung La Pass, at 5416 meters/17,769 feet. This pass is reached by a strenuous climb at a high height. Enjoy breathtaking vistas of the Tibetan Himalayas and Annapurna Range from the pass’s summit.
The world’s deepest gorge, the Kali Gandaki Gorge, is also traversed along the circuit. Marine fossils called saligrams or ammonites, which originated in the Tethys Sea millions of years ago, can be found in the Kali Gandaki River.
AFFORDABLE
In contrast to other well-known high-altitude trekking routes in Nepal, the Annapurna Circuit is reasonably priced. Food and accommodation costs are lower on this side of the Nepalese Himalayas. For those seeking an affordable high-altitude adventure, the Annapurna Circuit is a fantastic choice.
FLEXIBLE
Thanks to the recently constructed roads, the Annapurna Circuit route is now more varied. Walking for many days before or after the Thorung La Pass crossing might be shortened if you have access to a motorized vehicle. For those who wish to walk the circuit but are short on time, this is an added benefit.
EASY ACCESS
Access to the beginning and finish of the Annapurna Circuit is made simple by the dirt roads that link most of the route’s communities. The construction of roads to Manang and Muktinath has facilitated the process of getting to the trailhead. You can now begin and finish your journey at places that are farther from the original locations. Access to vehicles has also made it simpler to obtain assistance in an emergency.
COZY ACCOMMODATION
Since the Annapurna Circuit has been a popular hiking destination for over 50 years, there is no shortage of high-quality lodging along the route. Modern conveniences like hot showers, wi-fi, comfortable mattresses, and Western toilets are provided by the majority of the lodges along the route. The extensive menus offer a wide variety of Tibetan, Nepalese, Indian, and continental meals.
SPIRITUALISM OF THE HINDU AND BUDDHIST TRADITIONS

During your travels, you will pass by several revered Buddhist and Hindu sites. One of the main Hindu pilgrimage sites in the Himalayas, Muktinath, can be reached on the latter part of your trek if you complete the circle in a clockwise manner. Dedicated to Lord Vishnu, the universe’s protector, this ancient temple is situated at the base of the Thorung La Pass. Hindus hold that coming to this temple and taking a bath under its 108 water spouts can help one achieve “mukti,” or salvation, and atone for previous misdeeds.
Near Manang is Tilicho Lake, which is revered by both Buddhists and Hindus. The sacred Kag Bhusundi Tal is what Hindus refer to when they read about it in the Hindu epic Ramayana. Buddhists hold this lake in high regard since it is believed that the saint Milarepa meditated here while traveling over the Himalayas. Along the way, there are several historic caves and Buddhist monasteries in the villages.
IDEAL HIGH-ALTITUDE TREK FOR NOVICES
For first-time hikers seeking their first high-altitude walking adventure, the Annapurna Circuit is an ideal introduction to high-altitude trekking. Compared to other high-altitude treks like the Manaslu Circuit and the Everest Base Camp Trek, the circuit is less difficult and more doable. Although altitude may be dangerous, the Annapurna Circuit trek is less strenuous, more mellow, and better signposted than other high-altitude climbs.
SIDE TRIPS OPTIONS
Other popular trekking routes in the area, like as the Upper Mustang Trek, Nar Phu Valley Trek, Mardi Himal Trek, Ghorepani Poon Hill Trek, Manaslu Circuit Trek, etc., have links to the Annapurna Circuit route. During the trek, one can divert off course, or after finishing the circuit, one can go on down the new path.
The historic settlement of Kagbeni is where you may join the Upper Mustang trek route after descending from the Thorung La Pass. This region is home to the well-known sky caves, a significant Tibetan culture, and an arid desert terrain. The historic walled city of Lho, the former kingdom, is where the expedition comes to a head. For Upper Mustang, jeep trips are also offered.
You may explore the secluded Nar-Phu Valley before going over the Thorung La peak. The valley is near Tibet, therefore entry requires special authorization. Nomadic yak herders are camped out in the open meadows here in this remote location, using traditional tents for lodging. Given that the majority of the population is descended from Tibetan migrants who migrated out of Tibet many years ago, the impact of Tibet is particularly strong. You take the Kang La Pass on your way back to Manang after seeing Nar Phu. You have the option to hike to Jomsom over the Meso Kanta Pass, avoiding the Thorong La Pass. Note that the Nar-Phu Valley with Annapurna Circuit trip is not suggested for novices because of its difficulty level.
You may descend from Jomsom to Tatopani via the Thakkali villages of Marpha (the apple capital of Nepal), Tukuche, Larjung, Kalopani, and Ghasa to reach the routes to Ghorepani-Poon Hill, Mardi Himal, and Annapurna Base Camp.
You can witness the distinctive Nepalese hill environment in the lower Annapurna region, where routes meander past rhododendron trees, terraced farms, and mountain villages home to Gurung and Magar populations. There are overlooks where you may take in breathtaking sunrises and sunsets, and nature is quite wonderful. The Ghorepani Poon Hill walk winds through one of the largest rhododendron forests in the world, which in the springtime becomes a paradise covered in a profusion of pink and red blossoms.
Once the Annapurna Circuit is completed in an anticlockwise manner (by crossing Throng La from Muktinath and reaching Manang), the path to the Manaslu Circuit is accessible. After leaving Manang, you descend to Dharapani, where the Manaslu Circuit and the Annapurna Circuit connect.
AMAZING WILDLIFE
The largest conservation area in Nepal, the Annapurna Conservation Area Project (ACAP), contains the Annapurna Circuit. The Red Panda, Snow Leopard, Tibetan Antelope, Musk deer, Clouded Leopard, and several vibrant birds and butterflies’ habitats are all along the circuit’s meandering path. Alpine goats may be seen jumping up the sheer cliff faces, while herds of yaks can be seen grazing in the alpine meadows.
The Himalayan plant known as Caterpillar Fungus, or Yarsagumba, is highly valued for its therapeutic characteristics and may be found hunting in the highlands of Manang. The plant, often referred to as Himalayan Viagra, is a common ingredient in traditional Tibetan and Chinese remedies. The people travel to Namke, Khangsar, and Narphu in the Upper Mustang highlands in May and June to harvest this herb.
VIVID FESTIVALS
Walking the Annapurna Circuit is also a great way to take in some of its distinctive and colorful celebrations. Among the intriguing celebrations observed in the mountain communities along the Annapurna Circuit are:
Yarthung: Upper Manang celebrates Yarthung, also known as the Horse Racing Festival, in June or July. At a venue called Ta Khill Thang, horse racing competitions take place. Riders and spectators alike dress in traditional garb. People dance and sing in celebration following the race. They thereafter proceed to the Kargyu Gompa and Pocho Gumba to burn butter lamps and ask for blessings.
Metha or Dhachang (Archery event): Held in Chame and other Lower Manang villages, this event showcases local archers’ prowess as they vie for awards. The four-day festival takes place in April/May. The lamas, or monks, hold a cleansing rite on the last day during which they dance in masks, or cham, to ward off evil spirits from the community.
Badhe: The inhabitants of Nyeshang commemorate the ancient festival of Badhe every three years. The communities perform a complex performance in the open field during this event.
Torkya: The Harvest festival is observed in early November following agricultural harvesting. In the hamlet of Ngawal, it is observed with thanksgiving to the Buddhist deities and offerings made to the lamas or monks.
Dawa Dhukpa: The monks play drums, cymbals, trumpets, and conch shells while the people parade throughout the hamlet while carrying the sacred Buddhist scriptures on their heads. It is believed that attending this June celebration will bring abundant crops and pleasant weather.
Nei Festival: Ngawal Village celebrates this Bon holiday. The peasants pray to the trees and stones in hopes of receiving benefits. At the Nen Cave, a ceremony is performed and the cave is revered. The Nen Cave has been revered by the locals for more than five hundred years.
RELAX IN POKHARA, THE LAKE CITY
The majority of hikers begin and complete their journey in Pokhara, a stunning lakeside city. After a strenuous hike, Pokhara is the ideal destination to decompress and rejuvenate since it is calmer and less hectic than Kathmandu. Situated in a lush valley, the city is encircled by snow-capped Machapucchre or Fishtail Peak and luscious hills. You may take a break to relax and revitalize yourself at spa resorts, yoga retreats, and meditation centers.
In addition, Pokhara has exhilarating outdoor activities including sky diving, hot air ballooning, rafting, zip line, paragliding, and bungy jumping. Short-day treks may be taken to some of the Chettri and Gurung communities outside of the city, where you can stay in a homestay provided by a local family.
CONCLUSION
These are some of the strongest reasons in favor of doing the Annapurna Circuit tour. We advise you to cross the Annapurna Circuit off your bucket list. The scenery is as stunning as it gets in the Himalayas, and the trek is excellent. The Annapurna Circuit offers better accommodations, safety, prices, and accessibility than other high-altitude treks.


